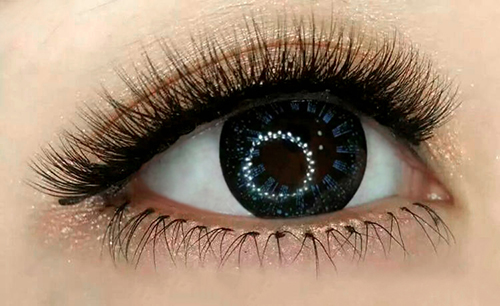
How to Apply Bottom Lashes with Falre Clusters
Do not forget your bottom lashes when you make up.
Just like with upper lashes, there are two main types of lashes you can use to enhance your lower lash line: strip lashes or individual lashes. If you’ve never tried under lashes before, start with individual lashes is much easier. They may seem tricky and intimidating at first, but because they’re applied one by one (as opposed to secured along a single strip), you have much greater control over where they land, how many to apply, what overall look you want to create, etc. In addition, they're also completely customizable!
(1) Place a dot of glue onto the tray
This will make application easier since your access to your glue is right at your fingertips.
(2) Bend the tray so lashes are easier to grab
This step is not necessary for longer lengths. Just remember to always grab lashes as close to the knot as possible!
(3) Remove lashes as close to the base as possible
You always want to grab lashes from as close to the base (or knot) as possible. This will ensure that their shape is intact and no hairs are pulled off during removal.
(4) Start from the outer corner of your eye
Dip your lash into the dot of glue and make sure the curve of the lash is downwards (like your natural lower lashes are). Snuggle the flare lash either directly under or in between your natural lashes.

(5) Work your way in until you have your desired look
I opted to use the same length for the entire length of my eye, but most people like to use longer lengths on the outer corner and shorter lengths toward the inner corner. Just keep adding lashes until you reach your desired look. You can just do the outer third of your eye, the entire lower lash line, super dense & thick, or just light and natural–it's all up to you!


